
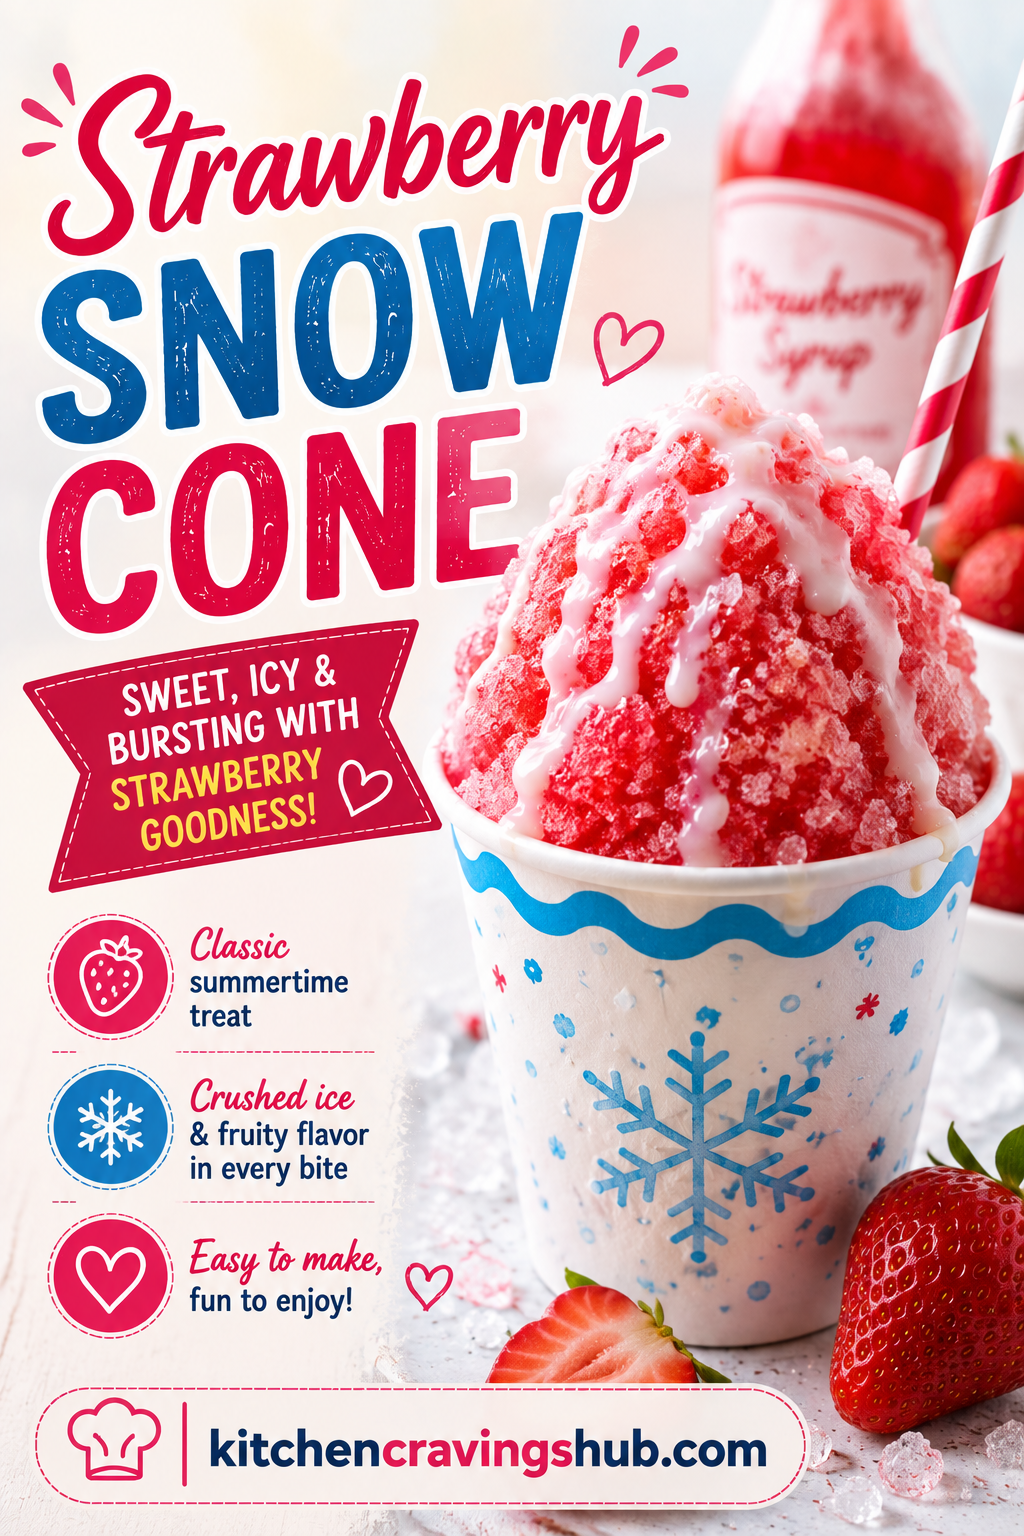
There’s nothing quite like the icy, fruity relief of a snow cone on a hot summer day, and this homemade strawberry snow cone recipe brings that classic carnival treat right into your own backyard. 🍓 Made with fresh, juicy strawberries instead of artificial syrup, this version is bursting with real fruit flavor, naturally sweet, and so much better than anything you’d find at a stand. Best of all, it’s incredibly simple to make with just a few ingredients and a blender.
Below you’ll find everything you need to make these refreshing strawberry snow cones at home, including step by step instructions, my favorite tips for getting that perfect fluffy ice texture, fun flavor variations, storage advice, and answers to the most common questions people ask about this recipe. Let’s get shaving. 🍧✨
🍓 What Is a Strawberry Snow Cone?
A snow cone is a simple, beloved frozen treat made by pouring flavored syrup over finely shaved or crushed ice, creating a light, fluffy, icy dessert that’s perfect for cooling down on a hot day. While traditional snow cone stands typically use bottled, artificially flavored syrups in bright, unnatural colors, this homemade strawberry version uses real, fresh strawberries blended into a naturally sweet, vibrant syrup instead.
The result is a snow cone that tastes like an actual strawberry, rather than an imitation of one, with a beautiful natural pink hue and a flavor that’s bright, fruity, and perfectly refreshing. It’s an easy way to bring a bit of nostalgic, carnival style fun into your kitchen, while sneaking in some real fruit at the same time. 🍓🍧
💛 Why You’ll Love This Recipe
- Made with real fruit. No artificial flavors or dyes, just fresh, ripe strawberries.
- Naturally sweetened. Ripe strawberries bring plenty of natural sweetness, so you can use less added sugar.
- Quick and easy. The syrup comes together in minutes, and the ice can be prepped ahead of time.
- Budget friendly. Making snow cones at home costs a fraction of what you’d spend at a fair or carnival.
- A fun activity for kids. Little ones love helping blend the syrup and watching the ice transform into a colorful treat.
🍓 Ingredients You’ll Need
For the strawberry syrup:
- 3 cups fresh strawberries, hulled and halved
- 1/2 cup granulated sugar
- 1/4 cup water
- 1 tablespoon fresh lemon juice
- A pinch of salt
For the snow cones:
- 6 cups finely crushed or shaved ice
- Fresh strawberry slices, for garnish (optional)
- A few mint leaves, for garnish (optional)
👩🍳 How to Make Strawberry Snow Cones
Step 1: Cook the strawberries. In a medium saucepan, combine the hulled strawberries, sugar, water, and a pinch of salt. Place over medium heat and cook, stirring occasionally, for about eight to ten minutes, until the strawberries have softened and released their juices.
Step 2: Blend the mixture. Carefully transfer the cooked strawberry mixture to a blender and blend until completely smooth. Let it cool slightly before blending if it’s still very hot, and use caution when blending hot liquids.
Step 3: Strain if desired. For a smoother, seedless syrup, pour the blended mixture through a fine mesh strainer set over a bowl, pressing gently with a spatula to extract as much liquid as possible. This step is optional if you don’t mind a bit of texture from the seeds.
Step 4: Add the lemon juice. Stir the fresh lemon juice into the strained syrup. This brightens the flavor and helps balance the sweetness of the strawberries.
Step 5: Cool the syrup. Let the syrup cool to room temperature, then transfer it to a jar or airtight container and refrigerate until fully chilled, about one hour. A cold syrup helps keep your snow cones from melting too quickly once assembled.
Step 6: Prepare the ice. While the syrup chills, prepare your finely crushed or shaved ice. A snow cone machine or shaved ice maker gives the most authentic, fluffy texture, though a blender or food processor can also work in a pinch to create finely crushed ice.
Step 7: Assemble the snow cones. Pack the shaved or crushed ice into paper cones, snow cone cups, or regular cups, mounding it into a rounded shape.
Step 8: Pour on the syrup. Generously drizzle the chilled strawberry syrup over each mound of ice, making sure to coat it evenly so every bite is full of flavor.
Step 9: Garnish and serve. Top with a few fresh strawberry slices and a sprig of mint if desired, then serve immediately for the best icy, fluffy texture. 🍓
❄️ Tips for the Best Strawberry Snow Cones
- Use very ripe strawberries. Ripe, in season strawberries give you the sweetest, most flavorful syrup with the least need for added sugar.
- Chill your syrup well. A cold syrup helps prevent the ice from melting too quickly once it’s poured on top.
- Shave your ice as finely as possible. The fluffier and finer the ice, the more authentic and enjoyable the snow cone texture will be. Chunky ice cubes simply won’t give you that classic shaved ice feel.
- Serve immediately. Snow cones are best enjoyed right after assembling, since the ice will naturally begin to melt, especially in warm weather.
- Make extra syrup. This strawberry syrup is so good, you’ll want extra on hand for refills, or for drizzling over other desserts like ice cream or pancakes.
🌈 Fun Variations to Try
Strawberry Lemonade Snow Cone 🍋 Add an extra splash of lemon juice and a bit of lemon zest to the syrup for a bright, tangy strawberry lemonade twist.
Strawberry Basil Snow Cone 🌿 Muddle a few fresh basil leaves into the syrup while it cools for an herbal, slightly sophisticated flavor variation.
Strawberry Coconut Snow Cone 🥥 Drizzle a bit of sweetened coconut cream over the finished snow cone alongside the strawberry syrup for a tropical, pina colada inspired treat.
Mixed Berry Snow Cone 🫐 Add a handful of blueberries or raspberries to the strawberries while cooking for a fun, mixed berry flavor combination.
Strawberries and Cream Snow Cone 🍦 Drizzle a bit of sweetened condensed milk over the finished snow cone along with the strawberry syrup for a rich, creamy twist reminiscent of a classic strawberries and cream dessert.
🧊 How to Store Strawberry Snow Cone Syrup
While the assembled snow cones themselves are best enjoyed immediately, the syrup itself stores beautifully, making it easy to whip up snow cones on demand throughout the summer.
- Refrigerator: Store the strawberry syrup in an airtight jar or container in the fridge for up to one week.
- Freezer: For longer storage, freeze the syrup in an ice cube tray, then transfer the frozen cubes to a freezer safe bag. They’ll keep well for up to three months. Simply thaw a cube or two whenever you’re ready for a snow cone.
- Ice storage: If using a snow cone machine, it’s best to shave ice fresh each time for the fluffiest texture, since pre shaved ice tends to clump and harden if stored in the freezer.
🍧 Perfect Occasions for Strawberry Snow Cones
This refreshing treat is perfect for all kinds of warm weather fun:
- Backyard summer parties and pool days 🏊
- Fourth of July celebrations and summer barbecues 🎆
- Kids’ birthday parties with a fun DIY snow cone bar 🎂
- Hot afternoons when you need a quick, cooling treat 🌞
- A fun, hands on activity for kids during summer break 👧
Setting up a simple snow cone bar with a few different syrup flavors is also a wonderful way to let guests customize their own treats at any summer gathering.
❓ Frequently Asked Questions About Strawberry Snow Cones
Can I use frozen strawberries instead of fresh? Yes, frozen strawberries work well in this recipe, especially when fresh strawberries aren’t in season. Simply thaw them slightly before cooking, and proceed with the recipe as written.
What’s the best way to get finely shaved ice without a snow cone machine? A powerful blender or food processor can pulse regular ice cubes into a fine, snow like texture, though a dedicated snow cone or shaved ice machine will give you the most authentic, fluffy result.
How long does strawberry snow cone syrup last? Stored in an airtight container in the fridge, the syrup will stay fresh for up to one week, or up to three months if frozen in ice cube trays.
Can I make this recipe with less sugar? Absolutely. Since ripe strawberries are naturally sweet, feel free to reduce the added sugar to taste, especially if using very ripe, in season berries.
Why is my syrup too thin or too thick? If your syrup seems too thin, simmer it a bit longer to reduce and thicken slightly. If it’s too thick, simply whisk in a splash of water until you reach your desired consistency.
Can adults enjoy a boozy version of this snow cone? Yes, a splash of rum, vodka, or a fruity liqueur can be drizzled over the finished snow cone along with the strawberry syrup for a fun, adults only summer treat.
🍓 Final Thoughts
Strawberry snow cones prove that some of the best summer treats are also the simplest to make at home. With a naturally sweet, vibrant strawberry syrup poured generously over fluffy shaved ice, this homemade version brings all the nostalgic fun of a carnival snow cone stand right into your own backyard, minus the artificial flavors and food dyes. Whether you’re cooling off after a day at the pool or setting up a fun DIY snow cone bar for a birthday party, this recipe is guaranteed to be a hit with kids and adults alike. 🍧✨
Give this recipe a try on your next hot summer day, and enjoy every icy, fruity bite. Happy shaving! 🍓🎉