
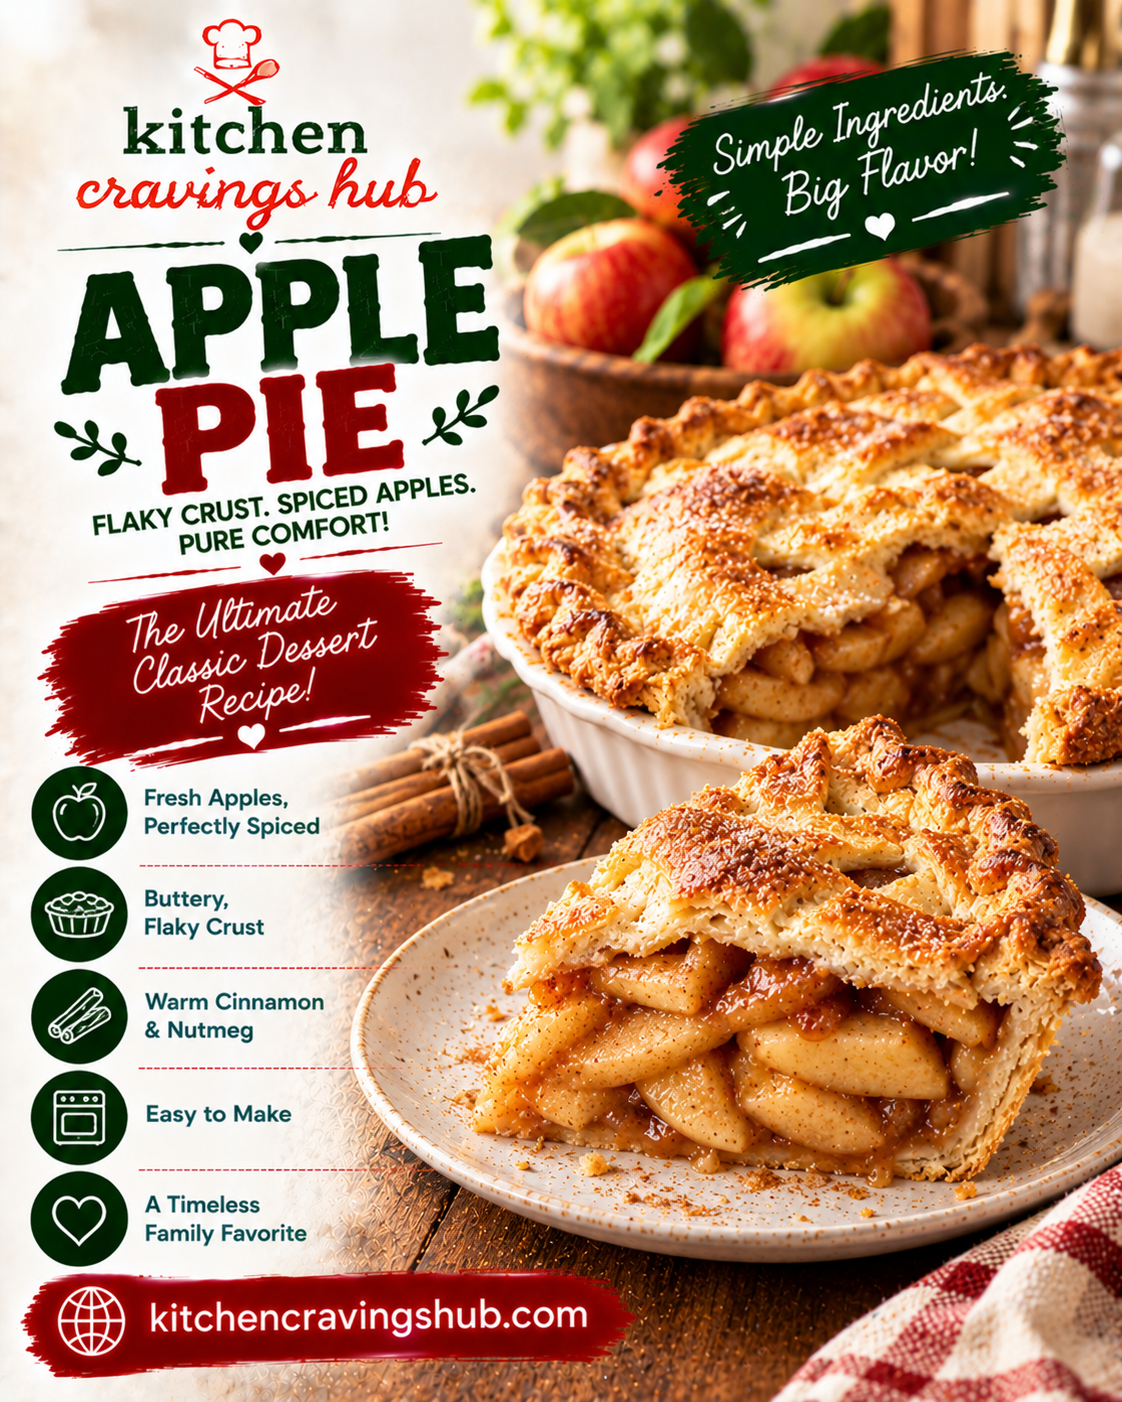
There is a reason apple pie has become synonymous with American comfort and tradition. A flaky, buttery crust wrapped around tender, spiced apples, baked until golden and bubbling. It is the dessert that shows up at every holiday gathering, summer barbecue, and Sunday dinner, beloved for good reason, since few things feel as comforting as a warm slice with a scoop of vanilla ice cream melting on top. 😋
In this guide, we are going to cover everything you need to know about apple pie. We will talk about why this dessert has become such an iconic American classic, the ingredients you need, a full step by step recipe, tips for getting that perfect flaky crust and well balanced filling, common mistakes to avoid, variations you might enjoy, and answers to the most frequently asked questions. Let us get baking. 🧑🍳
What Is Apple Pie? 🤔
Apple pie is a classic dessert featuring a sweet, spiced apple filling encased in a buttery, flaky pastry crust, baked until the crust is golden brown and the filling is tender and bubbling. While pies filled with fruit have existed in various forms throughout European culinary history for centuries, apple pie has become deeply and specifically associated with American culinary identity, so much so that the phrase as American as apple pie has become a common expression representing quintessential American tradition.
The dish reflects a broader American tradition of home baking, with countless family recipes passed down through generations, each with their own specific blend of spices, type of crust, or preferred apple variety. While the basic concept remains consistent, sweet spiced apples in a pastry crust, the specific details can vary widely from household to household, making apple pie a dessert with endless personal variations despite its seemingly simple foundation.
Apple pie remains a beloved centerpiece for holidays like Thanksgiving and Fourth of July celebrations, as well as a comforting year round dessert, cherished for its warm, spiced flavor and the satisfying combination of flaky pastry and tender fruit filling. 🌟
Why People Love Apple Pie ❤️
There are so many reasons this dessert has earned such an enduring, devoted following.
First, the combination of textures is wonderful, with that crisp, flaky crust giving way to soft, tender, spiced apples, creating a satisfying contrast in every single bite.
Second, the warm, comforting flavor of cinnamon and spiced apples evokes genuine nostalgia for many people, closely associated with holiday gatherings, family traditions, and cozy autumn days.
Third, it carries deep cultural significance as a quintessential American dessert, deeply woven into the fabric of American food culture and celebrated at countless gatherings and celebrations throughout the year.
Finally, it pairs beautifully with simple additions like vanilla ice cream or whipped cream, creating an even more indulgent treat that feels perfect for special occasions while still being approachable enough for a regular weekend baking project. 🏠
Ingredients You Will Need 🛒
Here is everything required to make a fantastic apple pie at home.
For the Pie Crust
All purpose flour, for the base of the dough. Cold unsalted butter, cut into small cubes, essential for creating those flaky layers. A pinch of salt. Sugar, a small amount, for a touch of sweetness in the crust. Ice water, to bring the dough together. An egg, for an egg wash to help the crust brown beautifully.
For the Apple Filling
Apples, a mix of varieties like Granny Smith for tartness and Honeycrisp or Gala for sweetness, peeled, cored, and sliced. Sugar, both granulated and brown sugar, for depth of sweetness. Cinnamon, the essential warm spice for this dessert. A pinch of nutmeg, for additional warmth. Lemon juice, to brighten the filling and prevent excessive browning. Cornstarch or flour, to thicken the filling as it bakes. A pinch of salt, to balance the sweetness. Butter, cut into small pieces, to dot over the filling before sealing the pie. 🌿
Step by Step Recipe: How to Make Apple Pie 👩🍳
This recipe generally serves about eight people and takes around two hours from start to finish, including chilling time for the dough.
Step 1: Make the Pie Crust
In a large bowl, combine the flour, salt, and sugar. Add the cold cubed butter and use your fingers or a pastry cutter to work the butter into the flour until the mixture resembles coarse crumbs with some larger pea sized pieces of butter still visible. Gradually add ice water, a tablespoon at a time, mixing gently until the dough just comes together.
Step 2: Chill the Dough
Divide the dough into two discs, wrap each in plastic wrap, and refrigerate for at least one hour, which allows the gluten to relax and the butter to firm back up, both essential for a flaky final texture.
Step 3: Prepare the Apple Filling
While the dough chills, peel, core, and slice the apples. Toss them in a large bowl with granulated sugar, brown sugar, cinnamon, nutmeg, lemon juice, cornstarch, and a pinch of salt, mixing well until evenly coated. Let the mixture sit for about fifteen to twenty minutes, which allows the apples to release some of their natural juices.
Step 4: Roll Out the Bottom Crust
Preheat your oven to around 425 degrees Fahrenheit. On a lightly floured surface, roll out one disc of dough into a circle large enough to fit your pie dish with a bit of overhang. Carefully transfer it to the pie dish, pressing it gently into the bottom and sides.
Step 5: Add the Filling
Pour the prepared apple filling into the crust lined pie dish, mounding it slightly in the center, and dot the top with small pieces of butter.
Step 6: Roll Out the Top Crust
Roll out the second disc of dough and place it over the filling, either as a full top crust with vents cut for steam to escape, or woven into a lattice pattern for a more decorative presentation.
Step 7: Seal and Crimp the Edges
Trim any excess dough, then fold and crimp the edges together to seal the pie, using your fingers or a fork to create a decorative border.
Step 8: Apply the Egg Wash
Brush the top crust with a beaten egg, which helps it achieve a beautiful golden brown color as it bakes.
Step 9: Bake the Pie
Place the pie on a baking sheet to catch any drips, and bake at 425 degrees Fahrenheit for about twenty minutes, then reduce the oven temperature to 375 degrees Fahrenheit and continue baking for another thirty five to forty five minutes, until the crust is deeply golden and the filling is bubbling through the vents.
Step 10: Cool Before Slicing
Let the pie cool for at least two to three hours before slicing, which allows the filling to set properly, resulting in cleaner slices rather than a runny filling.
Step 11: Serve
Serve the apple pie at room temperature or slightly warm, with a scoop of vanilla ice cream or a dollop of whipped cream if desired. 🥧
Pro Tips for the Best Apple Pie 💡
Use a mix of apple varieties for the best flavor and texture. Combining tart apples like Granny Smith with sweeter varieties creates a more balanced, interesting filling compared to using just one type alone.
Keep your butter and water cold throughout the pastry making process. Cold ingredients are essential for creating those distinct flaky layers, so work quickly and chill the dough whenever it starts to feel soft.
Let the apple mixture rest before filling the crust. This allows the apples to release some of their juices, which you can then thicken properly with the cornstarch, helping prevent an overly watery filling.
Cut vents in the top crust to allow steam to escape. This prevents the filling from becoming overly soggy and helps the crust bake evenly.
Bake on a lower oven rack if your crust tends to brown too quickly on top before the filling is fully cooked, or use a pie shield or foil to protect the edges from over browning.
Let the pie cool completely before slicing. This patience pays off with a properly set filling and cleaner slices, rather than a runny, less visually appealing result.
Common Mistakes to Avoid ⚠️
Overworking the pastry dough. This develops too much gluten, resulting in a tough, chewy crust instead of a light, flaky one.
Using warm butter or water in the pastry. Warm ingredients prevent the butter from creating those distinct flaky layers, resulting in a denser, less appealing texture.
Not thickening the filling adequately. This can result in a runny, watery pie once sliced, so properly measuring and incorporating the cornstarch or flour is important.
Slicing the pie too soon after baking. Cutting into it before it has properly cooled and set can result in a filling that spills out rather than holding its shape.
Not venting the top crust. This can trap steam inside, leading to a soggy crust or filling that bubbles over messily during baking.
Variations You Might Enjoy 🍽️
While the classic double crust apple pie remains the most beloved version, there are a few variations worth exploring. A lattice top crust offers a beautiful, decorative presentation that also allows more steam to escape during baking. A crumb topping, made from butter, flour, and sugar, can replace the traditional top crust for a different textural experience, often called Dutch apple pie. Some bakers also add a splash of caramel sauce or a handful of chopped nuts to the filling for extra richness and texture. 🍂
Storing and Reheating Leftovers 📦
Store leftover apple pie covered at room temperature for up to two days, or in the refrigerator for up to five days if you prefer a longer storage option. Since the crust is at its best when fresh, texture will soften somewhat over time, though the flavor remains delicious.
To reheat, warm individual slices in an oven or toaster oven at around 300 degrees Fahrenheit for about ten minutes, which helps revive some of the crust’s original crispness. Avoid microwaving if possible, since this method tends to make the crust soggy rather than restoring its flaky texture.
Frequently Asked Questions ❓
What are the best apples for apple pie? A mix of tart and sweet varieties tends to work best, such as combining Granny Smith apples for tartness and structure with sweeter varieties like Honeycrisp or Gala for added flavor complexity and natural sweetness.
Why is my apple pie filling runny? This is usually caused by not using enough thickener, like cornstarch or flour, or not allowing the pie adequate time to cool and set before slicing. Properly measuring your thickening agent and exercising patience during the cooling process helps prevent this issue.
Can I make the pie crust ahead of time? Yes, the pie dough can be made a day or two in advance and stored in the refrigerator, tightly wrapped, until you are ready to roll it out and assemble the pie. It can also be frozen for longer storage, up to a few months.
Why is my crust tough instead of flaky? This is usually caused by overworking the dough or using butter and water that were not cold enough during the mixing process. Handling the dough as little as possible and keeping all ingredients cold helps ensure a flaky final texture.
Can I freeze apple pie? Yes, you can freeze an unbaked, assembled pie for up to three months, baking it directly from frozen with a bit of extra baking time, or freeze a fully baked pie, thawing and reheating before serving.
Can I make this dish gluten free? Yes, substitute the all purpose flour in the crust with a gluten free flour blend specifically designed for baking, and use cornstarch rather than regular flour as the thickener for the filling, to create a gluten free version of this classic dessert.
Final Thoughts 🌈
Apple pie represents everything wonderful about classic American baking, that flaky, buttery crust wrapped around warm, spiced apples creating a dessert that feels both comforting and genuinely celebratory. It has earned its iconic status in American food culture for good reason, delivering reliable, nostalgic satisfaction with every single slice.
Once you get comfortable with keeping that pastry cold and properly balancing your spiced apple filling, this recipe becomes a wonderful dessert to bake again and again, whether for a major holiday gathering or simply because you are craving something warm, sweet, and homemade straight from your own oven.
So roll out that dough, slice up your apples, and get ready to fill your kitchen with the warm, comforting aroma of homemade apple pie. Happy baking! 🍳🥳