
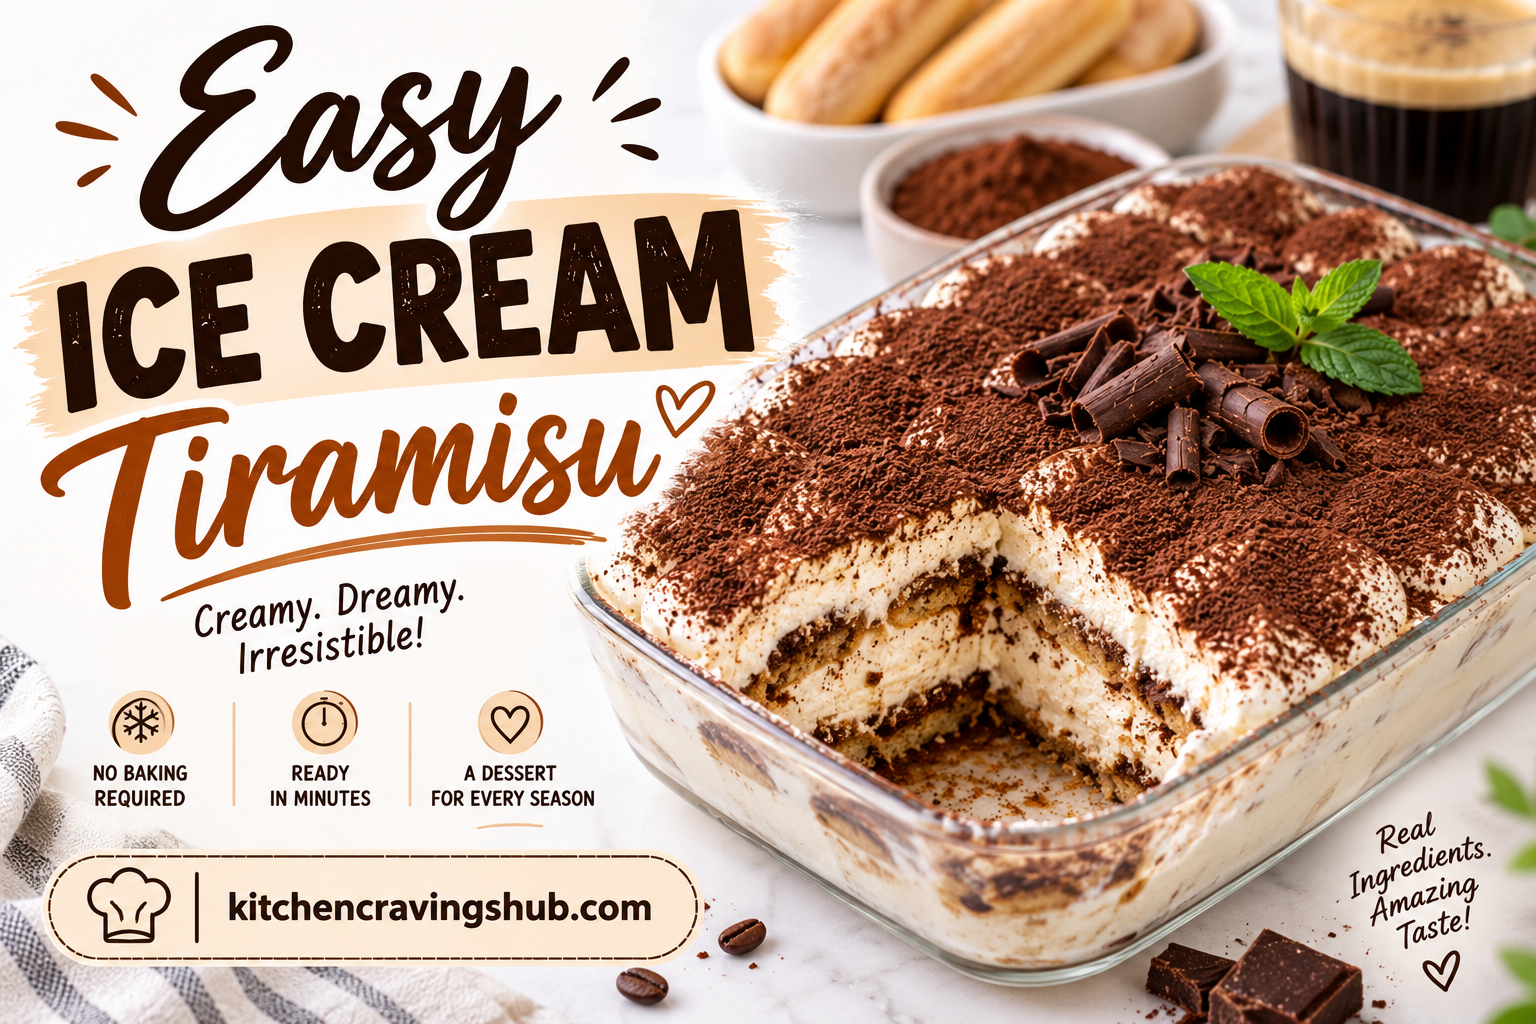
Traditional tiramisu is one of those desserts that always impresses, but let’s be honest, between the raw eggs, the delicate mascarpone whipping, and the careful ladyfinger dipping, it can feel a little intimidating to make at home. That’s exactly why this easy ice cream tiramisu has become one of my absolute favorite shortcut desserts. 🍨 It captures every bit of that coffee soaked, creamy, cocoa dusted magic we all love about classic tiramisu, but comes together in a fraction of the time, using ice cream instead of a traditional mascarpone filling.
Below you’ll find everything you need to make this no fuss, crowd pleasing dessert at home, including step by step instructions, my favorite tips for the best texture and flavor, fun variations, storage advice, and answers to the most common questions people ask about this recipe. Let’s get layering. ☕✨
🍨 What Is Ice Cream Tiramisu?
Ice cream tiramisu takes the beloved flavors of classic Italian tiramisu, coffee, cocoa, a touch of sweetness, and a soft, creamy texture, and simplifies the process by swapping the traditional mascarpone custard for a base of softened vanilla or coffee ice cream. Ladyfingers are quickly dipped in coffee (or a coffee and coffee liqueur mixture, if you want that classic grown up touch) and layered with the ice cream, then frozen until firm and dusted generously with cocoa powder before serving.
The result is a dessert that tastes remarkably close to the real thing, with all the same comforting flavors, but without the fuss of raw eggs or delicate whipping techniques. It’s the perfect make ahead dessert for dinner parties, holidays, or anytime you want to impress guests without spending hours in the kitchen. ☕🍨
💛 Why You’ll Love This Recipe
- No raw eggs required. This version skips the traditional egg based custard entirely, making it simple and worry free.
- Ready in under thirty minutes of active time. Once assembled, the freezer does all the work.
- Make ahead friendly. This is a fantastic dessert to prepare a day or two before serving.
- Just as delicious as the classic. All the coffee, cocoa, and creamy flavor you love, without the complicated technique.
- Perfect for entertaining. A beautiful, layered dessert that always gets rave reviews at dinner parties.
☕ Ingredients You’ll Need
For the coffee soak:
- 1 1/2 cups strong brewed coffee or espresso, cooled
- 2 tablespoons coffee liqueur (optional, for a classic grown up flavor)
- 1 tablespoon granulated sugar
For the layers:
- 1 package ladyfinger cookies (about 24 count)
- 1 1/2 quarts vanilla ice cream, slightly softened
- 1 1/2 quarts coffee ice cream, slightly softened (or use all vanilla if you prefer a milder coffee flavor)
For the topping:
- 1/2 cup unsweetened cocoa powder, for dusting
- A handful of chocolate covered espresso beans, for garnish (optional)
- A light dusting of powdered sugar (optional)
👩🍳 How to Make Easy Ice Cream Tiramisu
Step 1: Prepare the coffee soak. In a shallow dish, combine the cooled brewed coffee, coffee liqueur if using, and sugar, stirring until the sugar dissolves. Set this aside within easy reach of your assembly area.
Step 2: Soften the ice cream. Let both containers of ice cream sit out at room temperature for about ten to fifteen minutes, or until softened enough to spread easily but not fully melted. You want a soft serve like consistency.
Step 3: Prep your dish. Choose a nine by thirteen inch baking dish or a similarly sized deep serving dish. Have it ready nearby for assembly.
Step 4: Dip and layer the first round of ladyfingers. Quickly dip each ladyfinger into the coffee mixture, just for a second or two on each side. Ladyfingers absorb liquid fast, so a quick dip is all you need to avoid a soggy result. Arrange a single layer of dipped ladyfingers across the bottom of your dish.
Step 5: Add the first ice cream layer. Spread half of the softened vanilla ice cream evenly over the ladyfinger layer using an offset spatula, smoothing it into an even layer.
Step 6: Repeat with coffee ice cream. Dip a second layer of ladyfingers in the coffee mixture and arrange them over the vanilla ice cream layer. Top with the softened coffee ice cream, spreading it into an even layer.
Step 7: Add a final ladyfinger layer. Dip the remaining ladyfingers and arrange them as a final layer on top of the coffee ice cream.
Step 8: Freeze until firm. Cover the dish tightly with plastic wrap and freeze for at least four hours, or ideally overnight, until completely firm.
Step 9: Dust with cocoa. Just before serving, generously dust the top with unsweetened cocoa powder using a fine mesh sieve for even coverage. Add chocolate covered espresso beans and a light dusting of powdered sugar if desired.
Step 10: Slice and serve. Let the tiramisu sit at room temperature for about five to ten minutes before slicing, which makes cutting through the frozen layers much easier. Serve in squares, just like a traditional tiramisu. ☕
🍫 Tips for the Best Ice Cream Tiramisu
- Dip quickly, don’t soak. Ladyfingers absorb liquid fast, so a quick one or two second dip on each side is all you need. Soaking too long will cause them to fall apart.
- Soften your ice cream properly. Ice cream that’s too hard will tear the ladyfingers when spreading, while ice cream that’s too melted will refreeze into an icy texture. Aim for a soft serve consistency.
- Work quickly during assembly. Since you’re working with melting ice cream, try to have all your ingredients prepped and ready before you start layering.
- Use a sharp knife for slicing. A warm, sharp knife glides through the frozen layers much more cleanly, giving you neat, presentable squares.
- Dust with cocoa right before serving. Cocoa powder can absorb moisture and lose its powdery texture if dusted too far in advance, so save this step for just before you’re ready to serve.
🌟 Fun Variations to Try
Chocolate Lovers Tiramisu 🍫 Use chocolate ice cream in place of one of the layers, and add a drizzle of chocolate sauce between layers for an extra decadent, chocolate forward version.
Nutella Swirl Tiramisu 🌰 Swirl a few tablespoons of warmed Nutella into the softened ice cream layers before spreading for a hazelnut chocolate twist.
Kid Friendly Tiramisu 👶 Skip the coffee liqueur and use a mild, slightly sweetened coffee or even a coffee flavored milk for the soak, making this a fun dessert the whole family can enjoy.
Salted Caramel Tiramisu 🍯 Drizzle salted caramel sauce between the ice cream layers for a sweet and salty twist on the classic flavor combination.
Individual Tiramisu Cups 🥤 Layer the ingredients in individual clear cups or jars instead of a large dish for an elegant, single serve presentation, perfect for dinner parties.
🧊 How to Store Ice Cream Tiramisu
Since this dessert is built on an ice cream base, proper freezer storage is essential for keeping it fresh and ready to serve.
- Freezer: Cover the dish tightly with plastic wrap or transfer slices to an airtight container. It will keep well in the freezer for up to two weeks.
- Serving leftovers: Let leftover slices sit at room temperature for about five minutes before serving to soften slightly for the best texture.
- Avoid refreezing melted portions. If a slice has fully melted, it’s best enjoyed right away rather than refrozen, since the texture won’t be quite the same the second time around.
☕ Perfect Occasions for Ice Cream Tiramisu
This easy, crowd pleasing dessert fits beautifully into all kinds of gatherings and celebrations:
- Dinner parties where you want an impressive, make ahead dessert 🍽️
- Summer birthdays when a frozen treat is more appealing than cake 🎂
- Holiday gatherings as a refreshing alternative to heavier desserts 🎄
- Potlucks and picnics, since it travels well when kept cold 🧺
- A cozy weekend treat any time you’re craving that classic tiramisu flavor ☕
Its elegant, layered presentation makes it look far more impressive than the effort it actually takes to prepare.
❓ Frequently Asked Questions About Ice Cream Tiramisu
Can I make this recipe without coffee liqueur? Yes, the coffee liqueur is optional and can be left out entirely for a family friendly, alcohol free version. The coffee alone provides plenty of flavor.
What can I use instead of ladyfingers? If you can’t find ladyfingers, thin slices of pound cake or sponge cake work as a substitute, though you’ll want to dip them just as quickly to avoid excess sogginess.
How far in advance can I make this dessert? This is a wonderful make ahead dessert and can be prepared up to two days before serving, since it needs to freeze fully anyway before slicing.
Why did my ladyfingers turn out mushy? This usually happens from dipping them too long in the coffee mixture. A very quick one to two second dip on each side is all that’s needed, since ladyfingers absorb liquid extremely fast.
Can I use a different ice cream flavor? Absolutely. While vanilla and coffee are the classic combination, you can experiment with flavors like chocolate, hazelnut, or even a dulce de leche ice cream for a fun twist.
Is this recipe kid friendly? Yes, especially if you skip the coffee liqueur and use a mild coffee soak. Kids tend to love the ice cream layers and the fun of helping dust the top with cocoa powder.
☕ Final Thoughts
Easy ice cream tiramisu proves that you don’t need hours in the kitchen or complicated techniques to create a dessert that feels truly special. With layers of coffee soaked ladyfingers and creamy ice cream, finished with a generous dusting of cocoa, this simplified version delivers all the classic tiramisu flavor you love in a fraction of the time. Whether you’re hosting a dinner party or just craving something sweet and coffee flavored on a warm evening, this is a dessert you’ll find yourself making again and again. ☕✨
Give this recipe a try, and enjoy every creamy, coffee soaked bite. Happy freezing! ☕🎉