
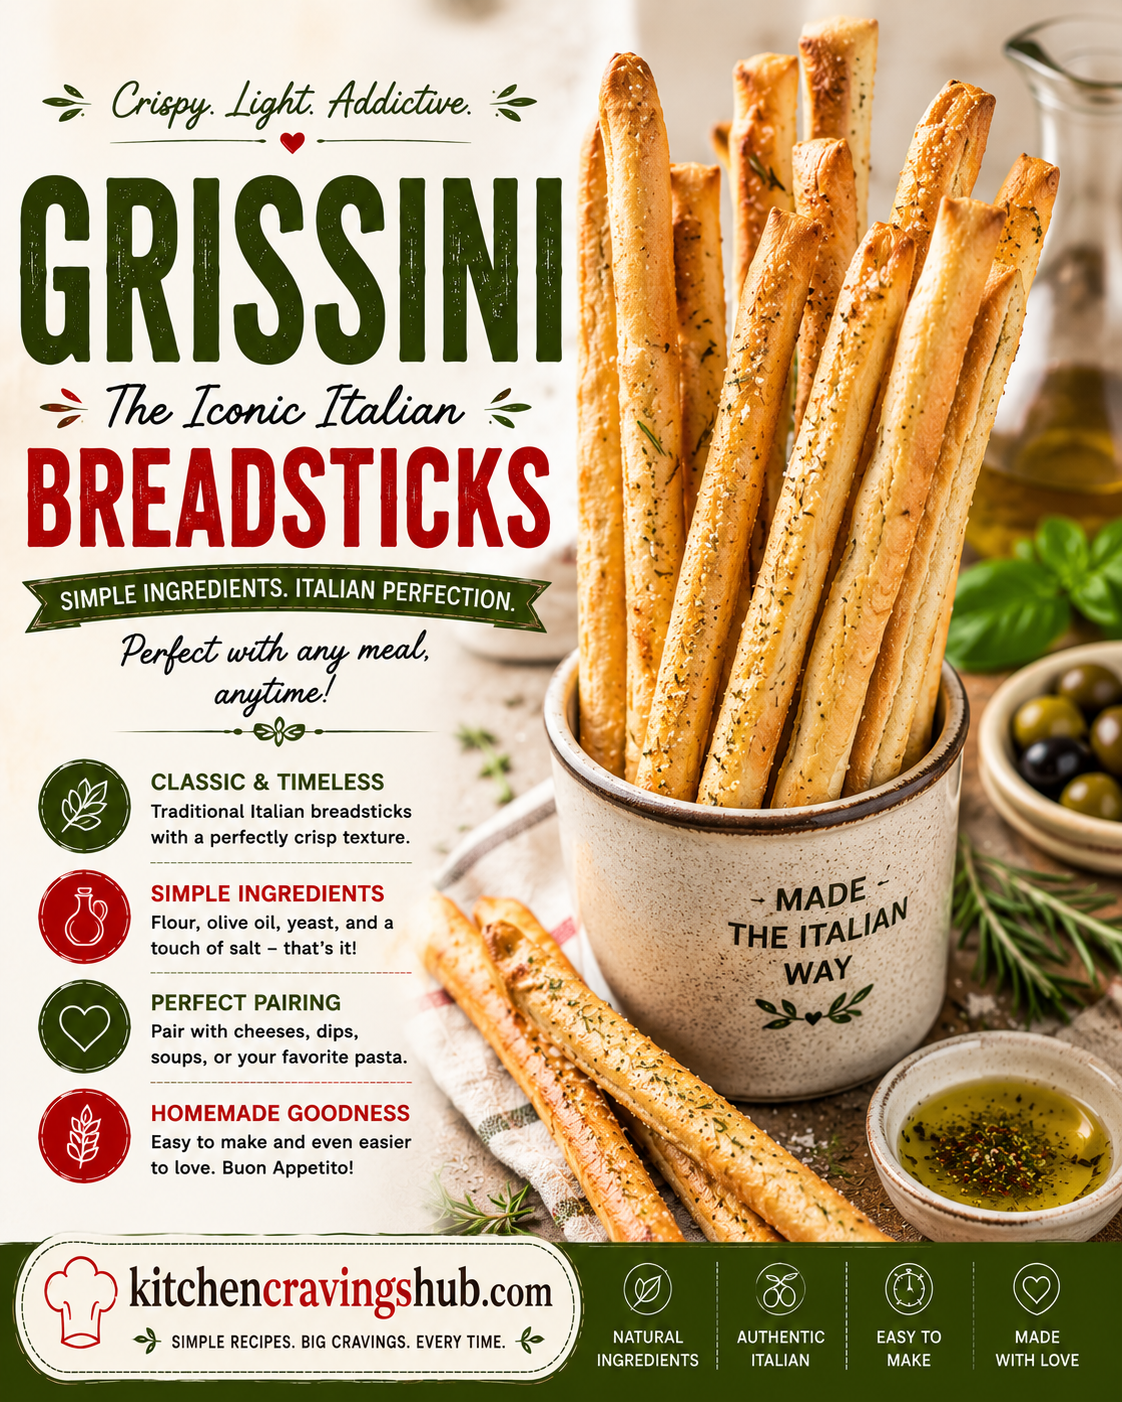
There’s a reason these thin, crackly Italian breadsticks show up in bread baskets at restaurants everywhere, they’re irresistibly crunchy, endlessly snackable, and surprisingly simple to make at home. 🌾 Grissini originated in the Piedmont region of northern Italy, and while store bought versions are perfectly fine in a pinch, nothing compares to the flavor and satisfying crunch of a batch made fresh in your own kitchen, still slightly warm and fragrant with olive oil.
Below you’ll find everything you need to make truly delicious homemade grissini, including step by step instructions, my favorite tips for getting that perfect thin, crispy texture, fun variations to try, storage advice, and answers to the most common questions people ask about this classic Italian snack. Let’s get rolling. 🥖✨
🌾 What Is Grissini?
Grissini are long, thin, crispy Italian breadsticks, traditionally originating from Turin in the Piedmont region of Italy. Legend has it they were created in the late seventeenth century for a young duke with a delicate stomach, who couldn’t tolerate the soft, doughy interior of regular bread. The solution was a thinner, fully baked through breadstick with no soft center at all, just an entirely crisp, crunchy texture from end to end.
Unlike soft breadsticks often served at American restaurants, true grissini are thin, brittle, and satisfyingly crisp throughout, similar in texture to a cracker or crouton, but with that distinct yeasted bread flavor. They’re traditionally served alongside cured meats and cheese as part of an antipasto spread, or simply enjoyed on their own as a snack, often wrapped with a thin slice of prosciutto. 🥖🧀
💛 Why You’ll Love This Recipe
- Wonderfully crisp texture. A satisfying crunch from end to end, unlike soft dinner breadsticks.
- Simple, minimal ingredients. Made from just a handful of pantry staples.
- Great for entertaining. A beautiful, elegant addition to any cheese or antipasto board.
- Customizable flavors. Easily dressed up with herbs, cheese, or seeds.
- Long shelf life. Unlike soft bread, these breadsticks stay fresh and crisp for quite a while when stored properly.
🥖 Ingredients You’ll Need
For the dough:
- 2 1/4 teaspoons active dry yeast (one standard packet)
- 1 cup warm water
- 1 teaspoon sugar
- 2 1/2 cups all purpose flour, plus more for dusting
- 1 teaspoon salt
- 3 tablespoons olive oil, plus more for brushing
For topping (optional):
- Coarse sea salt
- Grated Parmesan cheese
- Sesame seeds
- Dried rosemary or Italian seasoning
👩🍳 How to Make Grissini
Step 1: Activate the yeast. In a large mixing bowl, combine the warm water, yeast, and sugar. Let it sit for about five to ten minutes, until foamy and bubbly on top.
Step 2: Mix the dough. Add the flour, salt, and olive oil to the yeast mixture. Mix until a shaggy dough begins to form.
Step 3: Knead the dough. Turn the dough out onto a lightly floured surface and knead for about eight minutes, until smooth and elastic.
Step 4: Let it rise. Place the dough in a lightly oiled bowl, turning to coat. Cover with plastic wrap or a clean kitchen towel and let it rise in a warm spot for about forty five minutes to one hour, or until nearly doubled in size.
Step 5: Preheat your oven. Preheat your oven to 400 degrees Fahrenheit and line two baking sheets with parchment paper.
Step 6: Divide the dough. Once risen, turn the dough out onto a lightly floured surface. Divide it into two portions for easier handling, then divide each portion into small pieces, roughly the size of a golf ball, about twenty to twenty four pieces total.
Step 7: Roll into sticks. Using your palms, roll each piece of dough into a long, thin rope, about ten to twelve inches in length and roughly the thickness of a pencil. Try to keep the thickness as even as possible for consistent baking.
Step 8: Arrange on baking sheets. Place the rolled breadsticks onto your prepared baking sheets, spacing them about an inch apart, since they will puff slightly as they bake.
Step 9: Brush and top. Lightly brush each breadstick with olive oil, then sprinkle with your desired toppings, like coarse sea salt, Parmesan cheese, sesame seeds, or dried herbs.
Step 10: Bake until crisp. Bake for about fifteen to eighteen minutes, until golden brown and crisp throughout, rotating the baking sheets halfway through for even browning. Since grissini are meant to be fully crisp with no soft center, err on the side of slightly longer baking if needed.
Step 11: Cool completely. Transfer the breadsticks to a wire rack and let them cool completely, which allows them to continue crisping up as they cool. 🥖
🔥 Tips for the Best Grissini
- Roll them thin and even. The thinner and more evenly rolled your breadsticks are, the crispier and more uniformly baked they’ll turn out. Aim for a consistent, pencil like thickness throughout each stick.
- Don’t underbake. Unlike soft breadsticks, grissini should be baked until fully crisp and golden throughout, with no soft, doughy center remaining.
- Let them cool completely before storing. Breadsticks continue to crisp up as they cool, so resist the urge to package them away while still warm, which can trap moisture and soften their texture.
- Work in batches if needed. If your kitchen is warm and the dough starts to soften while rolling, you can pop the remaining dough back in the fridge for a few minutes to firm up and make rolling easier.
- Get creative with toppings. A light brushing of olive oil helps toppings like Parmesan, sesame seeds, or herbs adhere beautifully to the dough before baking.
🌈 Fun Variations to Try
Rosemary Grissini 🌿 Knead finely chopped fresh rosemary directly into the dough for a fragrant, herby variation that pairs beautifully with cheese boards.
Parmesan Grissini 🧀 Knead grated Parmesan cheese directly into the dough, in addition to sprinkling more on top before baking, for an extra cheesy, savory breadstick.
Prosciutto Wrapped Grissini 🥓 After baking and cooling, wrap each breadstick with a thin slice of prosciutto for an elegant, classic Italian antipasto presentation.
Sesame Grissini 🌻 Roll the shaped breadsticks in sesame seeds before baking for a nutty, crunchy exterior throughout.
Spicy Grissini 🌶️ Knead a pinch of red pepper flakes into the dough for breadsticks with a subtle, warming kick of heat.
🧊 How to Store Grissini
One of the best parts about grissini is just how well they store, making them a wonderful make ahead snack or appetizer.
- Room temperature: Store completely cooled grissini in an airtight container at room temperature for up to two weeks. Their thin, fully baked structure means they stay crisp for quite a long time compared to soft bread.
- Freezer: For even longer storage, grissini can be frozen in an airtight container for up to three months. Let them thaw at room temperature, and if needed, a brief few minutes in a warm oven will help restore any lost crispness.
- Reviving softened breadsticks: If your grissini have softened slightly from humidity, a few minutes in a low oven, around 300 degrees Fahrenheit, will help crisp them back up.
- Dough storage: The dough itself is best rolled and baked fresh rather than stored, since the delicate rolling process is easiest to work with right after the first rise.
🥖 Perfect Occasions for Grissini
These crisp, elegant breadsticks fit beautifully into all kinds of gatherings and occasions:
- Cheese and charcuterie boards for entertaining 🧀
- Italian dinner parties as a starter alongside olive oil for dipping 🫒
- Holiday appetizer spreads 🎄
- A crunchy, portable snack for lunchboxes or road trips 🚗
- Wrapped in prosciutto as an elegant, bite sized appetizer 🥂
Their elegant presentation and satisfying crunch make them a reliable favorite whenever you want a snack or appetizer that feels a little more special.
❓ Frequently Asked Questions About Grissini
What’s the difference between grissini and regular breadsticks? Traditional grissini are thin and fully baked until completely crisp throughout, with no soft, doughy center, unlike the softer, chewier breadsticks commonly served at many restaurants.
Why are my grissini not crispy? This usually happens from rolling them too thick or not baking them long enough. Aim for a thin, even, pencil like thickness, and bake until fully golden and crisp throughout, since grissini are meant to be entirely crunchy rather than soft in the middle.
Can I make grissini without a stand mixer? Yes, this dough comes together easily by hand, requiring only about eight minutes of kneading to develop the right texture.
How long do homemade grissini stay fresh? Stored in an airtight container at room temperature, grissini typically stay crisp and fresh for up to two weeks, thanks to their fully baked, low moisture texture.
Can I flavor the dough itself, rather than just topping the breadsticks? Absolutely. Ingredients like grated Parmesan, dried herbs, or a pinch of red pepper flakes can all be kneaded directly into the dough for flavor throughout the entire breadstick, not just on the surface.
What’s the traditional way to serve grissini? Grissini are traditionally served as part of an antipasto spread, often wrapped with a thin slice of prosciutto, or simply served in a tall glass or jar alongside cheese and olive oil for dipping.
🥖 Final Thoughts
Grissini prove that a simple, humble ingredient list can create something truly special with the right technique. With their satisfying crunch, elegant appearance, and endless flavor possibilities, these thin Italian breadsticks make a wonderful addition to any cheese board, dinner party, or afternoon snack spread. Once you try a batch fresh from your own oven, still warm and fragrant with olive oil, you may find it hard to go back to the store bought version. 🌾✨
Give this recipe a try for your next gathering, and enjoy every crisp, golden, satisfying bite. Happy baking! 🥖🎉